What is A1?
A1, the abbreviation for Acrylic One, is a two-component material consisting of a mineral powder and a water based acrylic resin. These bind in such a way that a strong material is created. A1 has many unique properties. These contribute to unique expressions, its strength, durability, weight to strength ratio, non-toxic, easy to manufacture and its ability to comply with many of the necessary test requirements of the construction industry, specifically those in regard to performance to fire and performance under impact.
A1 is used in a variety of applications ranging from small Mixed Media projects to large-scale Cladding & Façade projects.
The main areas of application that this manual focuses on are:
• Art & Sculpture
• Theming & Decoration
• Cladding & Façade panels
World Wide Distribution
A1 now has a long history. The first projects were realized in 2000 in South Africa, where many examples can still be admired. After the introduction of A1 in Europe in 2006, the number of A1 objects has risen sharply in all different markets and is growing daily. A1 now works with many partners, which means that a worldwide distribution network is available to offer A1 also at your place.
On this website you will find information about working with A1, available additives and fillers, sealers and coatings and many more.
Weighing and mixing of A1
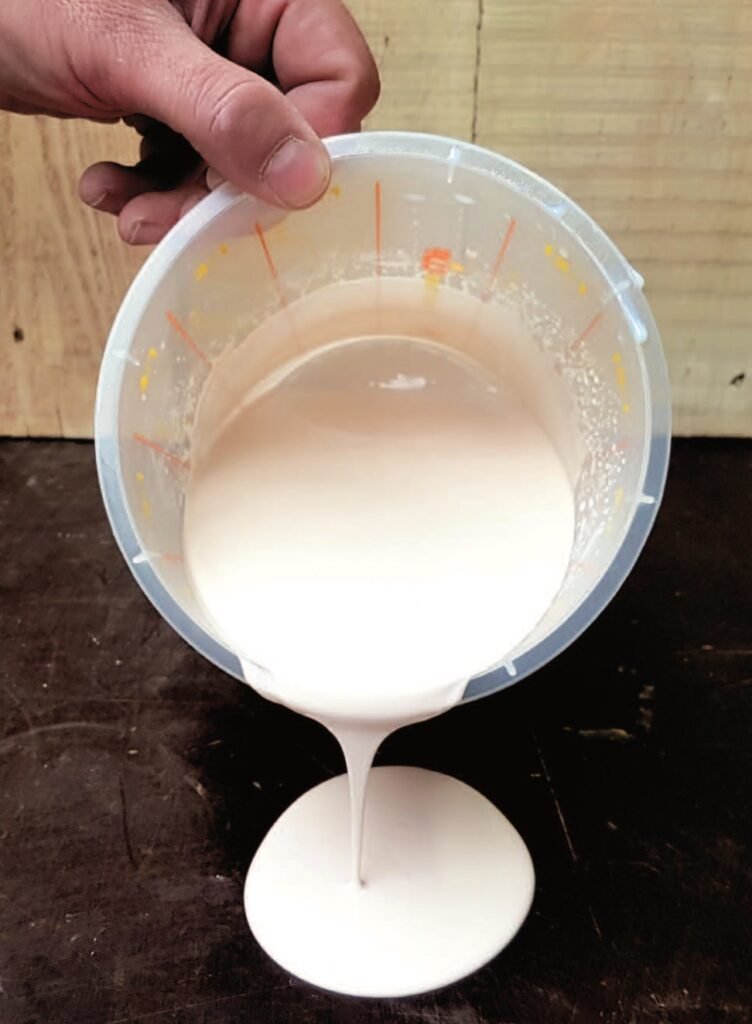
A1 is a combination of A1 Liquid and A1 Powder in the mixing ratio: 1 part A1 Liquid and 2 parts A1 Powder (1:2). This is always based on weight.
Mixing can be done with a stirring stick (small quantities) or with a High Shear mixer. First, start stirring the A1 Liquid and gradually add the A1 Powder. The A1 is ready when all lumps have disappeared. Mixing takes about 1 minute. Try to mix with as less air bubbles as possible in the A1 by keeping the mixer head under the surface. Processing time After mixing, the standard processing time is 20 – 25 minutes. If a shorter or longer processing time is required, A1 additives can be added.
Settling time
A1 is a water-borne product. Residual moisture must evaporate to obtain the final properties. The time required for this is highly dependent on external factors such as the size of the object, temperature and humidity. If the object is laminated or cast in a mould, it can already be removed from the mould as soon as the strength is sufficient to withstand the forces that occur during this process. The product will reach the optimal strength outside the mould.
Colour
Without fillers or colourants A1 has the appearance of cream-white coloured stone.
Hardness
A1 has the hardness of approx. 80 Shore D.
Tool cleaning
Skin and hands can be washed with soap and water. Tools can be cleaned with water.
Settling tank
The settling process also continues under water, which is why we recommend removing the tools from water immediately after cleaning. Use a separate bowl of water to clean tools and hands where you can let the A1 sink (minimum 24 hours). After 24 hours, surface water can pass through the sink. The A1 sediment can be left to dry, be disposed of with the residual waste or be reduced and processed as filler (max 1/3). Always follow local regulations.
Calculation of A1 needed
When applying 1 layer of A1 of 1 mm thickness you will use 1.75 kg A1 per m2 (1 liter A1 = 1.75 kg).
In a mould you normally work with a first layer of 1 to 2 mm. Next, we advise to use 3 layers of A1 Triaxial fibre. In order to achieve this will have to apply 4 layers of A1 of 1 mm. Normally in a mould we thicken A1 for the first layer with Thix A. Make sure this layer is hardened before applying the next layers to avoid print through of the A1 Triaxial fibre. Use 1 layer of A1 between your hardened first layer and the first layer of A1 Triaxial fibre in order to make a proper bonding.
As an example needed for a project of 5 m2:
– 2 mm 1st layer
– 4 layers of 1 mm A1 in order to apply the 3 layers of A1 Triaxial fibre
Total 6 mm of A1 x 1.75 kg per layer x 5m2 is 52,5 kg of A1, consisting of 17.5 kg A1 Liquid and 35 kg A1 Powder.
Be aware that this is an indication and not a general rule.
Instruction sheet: Mixing A1
