There are a number of possibilities to process A1. These are casting, brush, roller application, spraying and rotational casting.
Casting
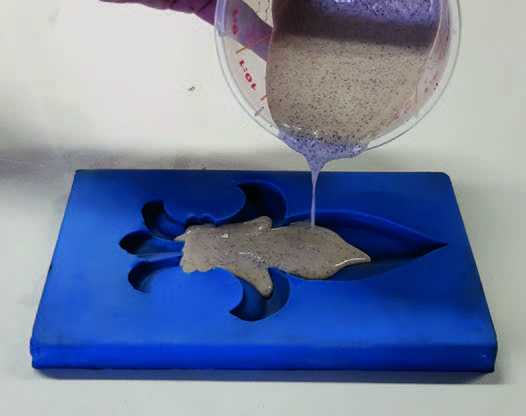
After mixing, A1 can easily be poured into the mould. A number of techniques are available to prevent air bubbles on the surface: • use the A1 High Shear mixer. • start (if possible) by brushing the mould, so all unevenness/relief is touched with A1. The brush stripes disappear due to the fluidity of the material. • the other A1 mass is poured along the edge so the A1 can flow smoothly into it. • you can fix any remaining air bubbles by tapping the side of the mould. If you have not created enough A1 for the mould, it is possible to add a new A1 layer within 1 hour.
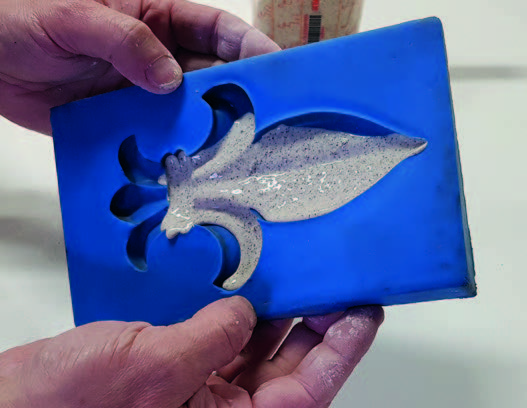
Releasing the mould is often possible after 1 hour. For vulnerable objects, this period may be longer.
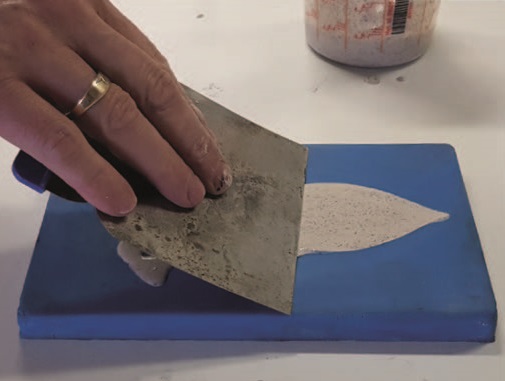
With a brush or coat roller the A1 can be applied in a thin layer. This is particularly suitable for the application of a 1st layer A1, the so-called gelcoat layer or for laminating glass fabric such as A1 Triaxial fibre. The brush or roller can be cleaned afterwards with water. A spatula is suitable to obtain a smooth finish. For this we advise to thicken the A1 with A1 Thix A or A1 ATP Powder.
Spraying
A1 is easy to spray. This makes it possible to apply a thin layer of A1. This technique is ideally suited for working with a (silicone) mould, but also for applying A1 on, for example, a form made of EPS (Expanded Polystyrene).
For the cup-gun a minimum nozzle size of 1,5 mm is required. You will get a good result with 2,5 or 3 mm. Even a 3,5 mm can be used. We suggest to sift the A1 before spraying to remove lumps.
With a hopper gun the nozzle size can be bigger. Depends a little on the desired surface quality. Most hopper guns have a nozzle size of 4 – 6 mm. For large quantities it is also possible to use a big spraying machine with chopped fibres.
Spraying cup
Hopper gun
Rotational moulding
In a closed (silicone) mould, you can not only cast solid but also rotational. For this we have a special A1 rotation version available (A1 Rotation).
An important advantage of rotary casting is the weight saving, because only a limited amount of A1 is required compared to solid casting. The result is a lighter, but also directly a more fragile object. When rotational moulding, you pour the A1 Rotation into the mould and then rotate it until the entire inner wall of the mould is covered.
Rotate the object until the A1 starts to harden. You can check the moment of curing by checking the curing in the mixing cup. The hardening time of the A1 Rotation is around 30 – 40 minutes. The rotation can be done by hand or with a rotary machine. If desired, you can choose to have a 2nd or even 3rd layer of A1 by applying it through rotation.


